How to configure Email on an iPhone or iPad
The following guide details how to configure your Jim’s email address into iOS 9
Step-by-step guide
- From the Home screen Tap on the Settings icon

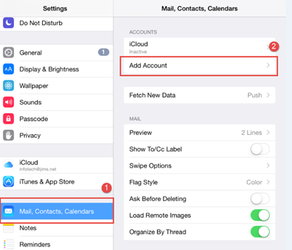
- In the settings menu tap on Mail, Contacts, Calendars then tap on Add Account
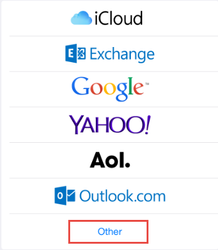
- Choose Other from the list of account types
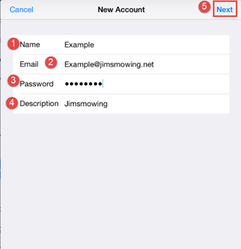
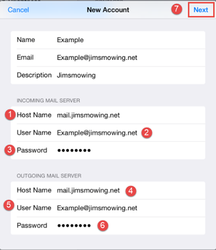
- Enter the Your Name, Jim’s Email address, Password, and your Jim’s Division as the Description for the account.
- Enter the Incoming and Outgoing server details.
- Please refer to www.jims.net/emails.html for the incoming server details that are relevant to your Division.
- Once these details have been entered tap Next.
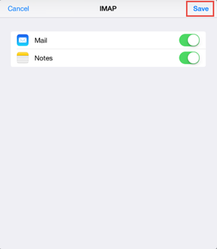
- Confirm mail and notes are turned on for the account then Tap Save.
- Note: Do below steps ONLY of you have issues sending out emails.
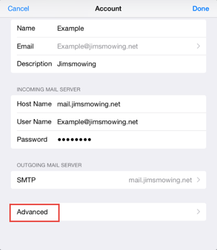
Tap settings then Mail, Contacts, Calendars then tap on your Jim’s email account that has just been entered.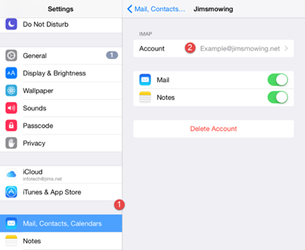
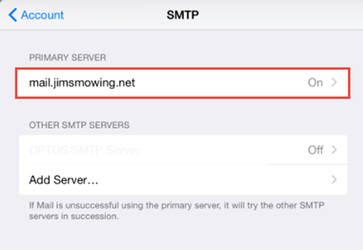
- From the settings screen Tap on SMTP.
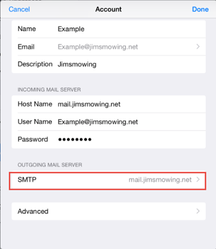
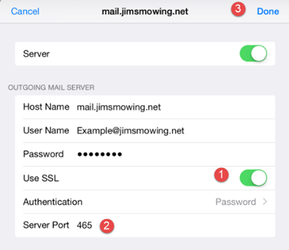
- From the SMTP screen tap on the host name that was configured in Step 6.
- Ensure that SSL is ON and the server port is 465 then tap Done
- Tap on Advanced from the Account screen
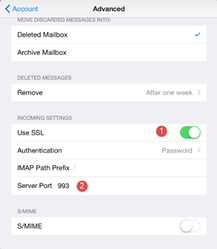
- Check that SSL is ON and the Server Port is 993 if configured as IMAP or 995 if configured as POP3 according to the settings explained on www.jims.net/emails.html.
- Tap on Account once completed, your Jim’s account will now be configured on your iOS device.
This info can be found in Jim's Online as well.
Related articles
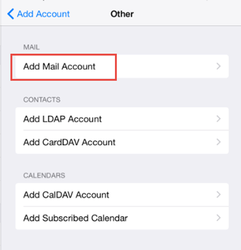
On the Add Other Screen Tap on Add Mail Account.